How to Make a Small Stone Patio
Creating a small stone patio can significantly enhance an outdoor living space, providing a dedicated area for relaxation, dining, or entertaining. The project, while demanding physical effort, is manageable for many homeowners with basic landscaping skills. Careful planning and execution are essential for a durable and aesthetically pleasing result. This article outlines the key steps involved in constructing a small stone patio.
Planning and Preparation
The initial phase of patio construction involves thoughtful planning. The first step should be determining the desired location. Consider factors such as proximity to the house, sun exposure, drainage patterns, and existing landscaping. A location that provides good drainage and adequate sunlight is generally preferable. Once the location is selected, accurately measure the area to determine the patio's dimensions. This measurement will dictate the quantity of materials needed.
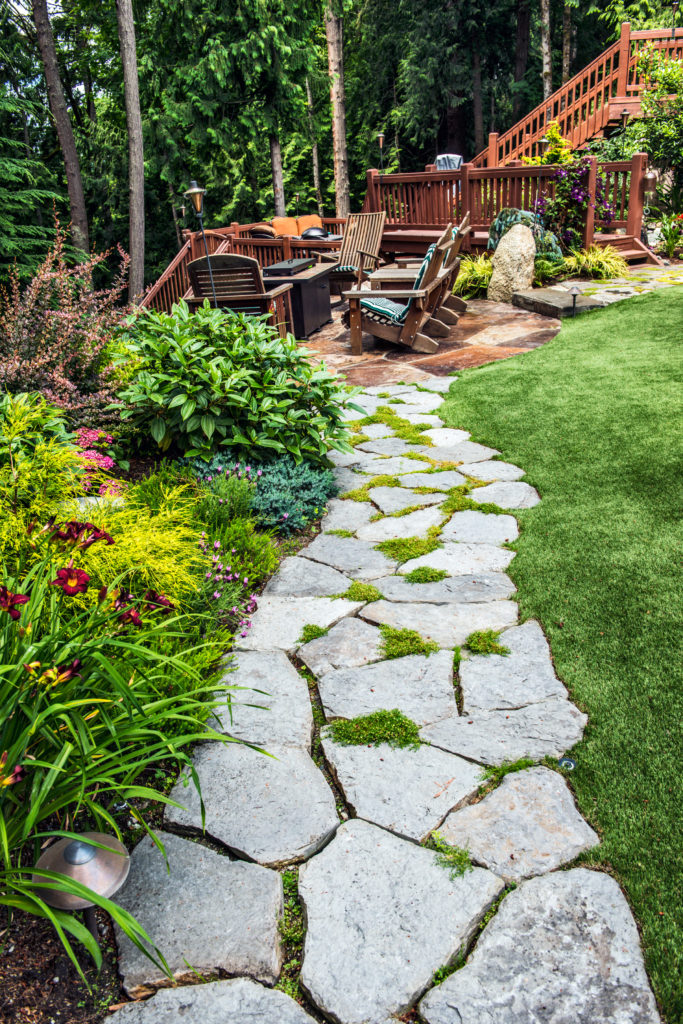
Next, choose the type of stone for the patio. Several options are available, including flagstone, pavers, cobblestone, and gravel. Each material offers a unique aesthetic and has varying levels of cost and installation complexity. Flagstone provides a natural look with irregular shapes, while pavers offer uniformity and ease of installation. Cobblestone delivers a rustic charm, and gravel provides a more casual and cost-effective solution. Consider the overall design of the outdoor space and select a stone that complements the existing landscape.
With the location and stone type determined, create a detailed plan or sketch of the patio layout. This plan should include the precise dimensions, the pattern in which the stones will be laid, and any special features, such as edging or steps. A well-defined plan will serve as a guide throughout the construction process and helps to visualize the final product.
After preparing the plan, calculate the required materials. This includes the amount of stone, base material (typically gravel or crushed stone), leveling sand, and edging materials, if desired. Consult with a local landscaping supplier to accurately estimate the quantities needed based on the patio's dimensions and the chosen stone type. Purchasing slightly more material than estimated is recommended to account for cuts, breakage, and variations in stone sizes.
Finally, gather the necessary tools and equipment. Essential tools include a shovel, wheelbarrow, measuring tape, level, rubber mallet, tamper, landscape fabric, and a circular saw or stone cutter (if cutting stones is required). Having all the tools readily available will streamline the construction process and minimize delays.
Site Excavation and Base Preparation
The success of the stone patio hinges on the proper preparation of the base. This step is crucial for ensuring long-term stability and preventing settling or shifting of the stones. Begin by marking the outline of the patio area using stakes and string. Ensure the corners are square using the Pythagorean theorem or a builder's square.
Next, excavate the area to a depth of at least 6 to 8 inches. The depth will depend on the type of stone, the soil conditions, and the desired finished height of the patio. Remove all vegetation, topsoil, and any large rocks or debris. A consistent and level excavation depth is essential for a uniform base.
Once the excavation is complete, compact the soil using a hand tamper or a plate compactor. Compacting the soil provides a solid foundation for the base material. Ensure the compacted soil is level and free of any soft spots or inconsistencies.
Install a layer of landscape fabric at the bottom of the excavated area. The landscape fabric prevents weeds from growing up through the patio and helps to stabilize the base material. Overlap the edges of the fabric by at least 12 inches to ensure complete coverage.
Spread a layer of base material, such as gravel or crushed stone, over the landscape fabric. The base material should be approximately 4 to 6 inches thick. Use a wheelbarrow to distribute the material evenly across the excavated area. Rake the material to achieve a level surface.
Compact the base material using a hand tamper or a plate compactor. Compacting the base material creates a stable and well-drained foundation for the stone patio. Ensure the compacted base is level and consistent throughout the area.
Add a layer of leveling sand over the compacted base material. The leveling sand should be approximately 1 to 2 inches thick. Use a rake to distribute the sand evenly and create a smooth surface. This layer of sand will provide a level bed for setting the stones and will help to prevent them from shifting.
Screed the leveling sand using a board or a screed tool to achieve a perfectly level surface. This step is critical for ensuring that the stones are laid flat and evenly. Use a level to check the screeded surface and make any necessary adjustments. A perfectly level base is essential for a professional-looking patio.
Stone Laying and Joint Filling
With the base properly prepared, begin laying the stones according to the planned layout. Start at one corner of the patio and work outwards, carefully positioning each stone in place. Ensure that each stone is firmly seated in the leveling sand and that it is level with the adjacent stones. Use a rubber mallet to gently tap the stones into place.
Maintain consistent spacing between the stones to allow for joint filling. The width of the joints will depend on the type of stone and the desired aesthetic. A common joint width is approximately 1/2 to 1 inch. Use spacers or shims to maintain consistent spacing between the stones.
If necessary, cut the stones to fit the desired pattern or to accommodate edges and corners. Use a circular saw with a diamond blade or a stone cutter to make precise cuts. Wear safety glasses and gloves when cutting stones to protect yourself from flying debris.
As the stones are laid, continuously check the level and alignment of the patio. Use a level to ensure that the stones are level with each other and that the overall patio surface is flat. Make any necessary adjustments by adding or removing leveling sand beneath the stones.
Once all the stones are laid, fill the joints between the stones with joint filling material. Several options are available, including polymeric sand, gravel, or mortar. Polymeric sand is a popular choice because it hardens when wetted, creating a durable and weed-resistant joint. Gravel provides a more natural and permeable option, while mortar offers a more permanent and traditional look.
If using polymeric sand, sweep the sand into the joints using a broom. Ensure that the joints are completely filled with sand. Once the joints are filled, lightly mist the patio with water to activate the polymeric sand. Follow the manufacturer's instructions for proper application and curing times.
If using gravel, simply sweep the gravel into the joints using a broom. Ensure that the joints are filled to the desired level. Over time, the gravel may settle, requiring periodic replenishment.
If using mortar, mix the mortar according to the manufacturer's instructions. Use a trowel to carefully fill the joints with mortar. Smooth the mortar surface and remove any excess mortar from the stones using a damp sponge. Allow the mortar to cure completely before walking on the patio.
After the joint filling material has cured, inspect the patio for any unevenness or settling. Make any necessary adjustments by adding or removing leveling sand or joint filling material. A well-constructed and properly maintained stone patio will provide years of enjoyment and enhance the beauty of the outdoor space.

How To Build A Flagstone Patio In One Day Merrypad

How To Build A Patio An Easy Do It Yourself Project

How To Build A Patio In Weekend Fine Gardening

Flagstone Patios How To Guide Paving Cost Diy Vs Contractor Install Mutualmaterials Com

Diy Pea Gravel Patio With Pavers Love Renovations

How To Install A Flagstone Patio Step By
:strip_icc()/102019730-dd53a1ce1dc14fc4803bd3410249ee7b.jpg?strip=all)
16 Gorgeous Gravel Patio Ideas

How To Build A Pea Gravel Patio Farmhouse On Boone

How To Build A Flagstone Patio Greenacresodfarm Com

Flagstone Patios How To Guide Paving Cost Diy Vs Contractor Install Mutualmaterials Com
Related Posts


